Monday, October 30, 2006


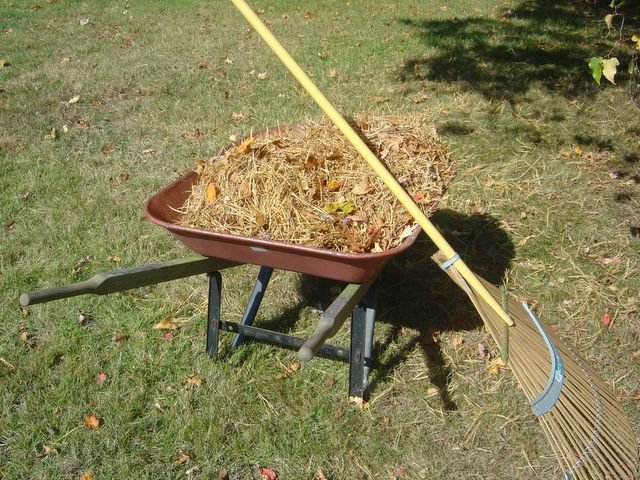
gathering pine needles Posted by Picasa

about one third covered Posted by Picasa

Sunday, October 29, 2006

Tucking in the garden

Well I finally got all the pathways weeded. Now it's time to cover them with pine needles I rake up from around the yard. Good progress so far.

Sunday, October 22, 2006


Uh Oh ! Double Trouble. Posted by Picasa

Garlic discoveries

It was Thursday when I noticed my garlic was up. Not all varieties, but a few. This is a new phase of garlic gardening for me. I’ve never actually been here when they pop up.

On closer examination yesterday I noticed that one of the Rocamboles, Sandpoint, was coming up as doubles. Six out of the ten I planted were doubles. This can be easily avoided with careful planting. Doubles hide inside the larger cloves. They have a single wrapper that is home to two (and sometimes three) cloves. The result is when you plant them that you have two heads of garlic competing for the same space and nutrients and you end up with inferior bulb size. If you are careful when you plant, you can feel the ridge inside the wrapper. You have the option of opening the skin and separating the two cloves and planting them bare in the ground, or simply using cloves that are definitely singles.

Well somehow this particular variety had me fooled when I was planting. So I decided to look underground and see if I could separate the doubles and replant.

I put my trowel in as deep as it would go sure that I was well 
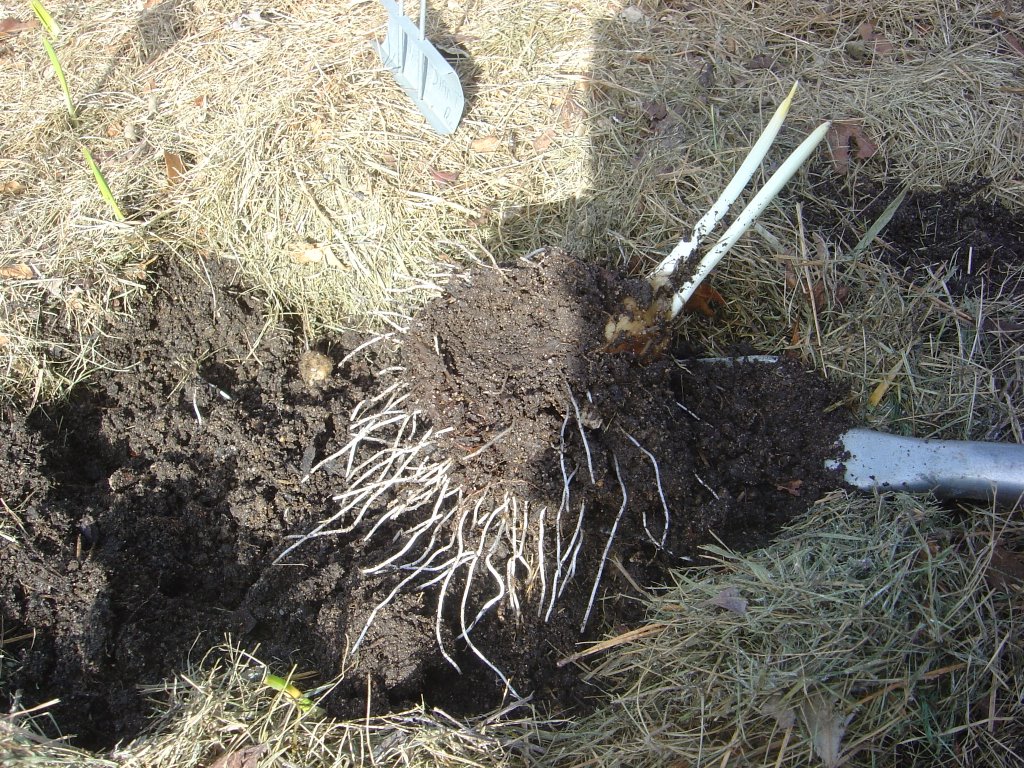
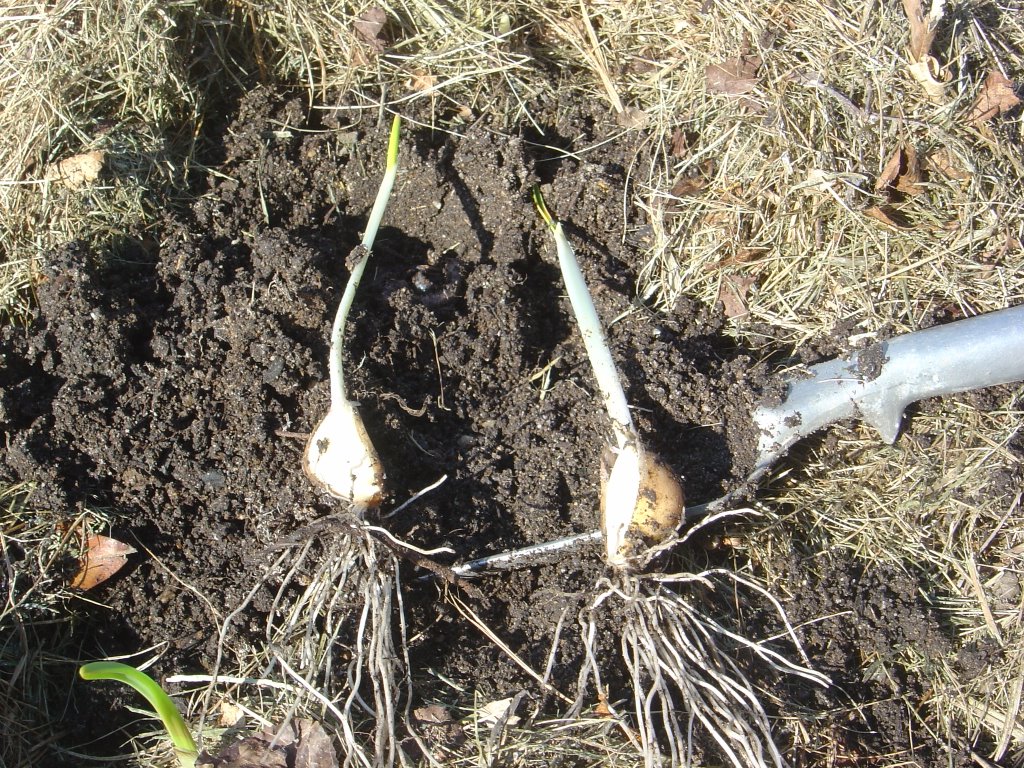
below root level. To my surprise there were 6-8 inch roots on these guys! And since I had planted the cloves a good four inches down this was a one foot long plant already. And they had only been in the ground for 15 days. Yowza! I had no idea that garlic went to work so diligently before the winter set in.

I carefully separated the young plants and replanted one of the cloves in the original hole and the other in a separate bed. I did this for 3 of the 6 doubles. We’ll see what happens.

Now here is a carrot that cries out for a caption! Any thoughts? Posted by Picasa

a carrot bouquet! Posted by Picasa

Wednesday, October 18, 2006

The gifts of Indian summer

We’ve had a lovely gift of a warm afternoon and now the fog is stealing in to make a gauze of my view off the back deck. I guess this qualifies as Indian summer since we had our first frost last week. Nothing like a frost threat to get a gardener’s attention. I picked the remaining green tomatoes and covered the dahlia’s and the sweet potato vines. I put the artichokes under boxes, and as I closed the garden gate I thanked the garden for the great run we’d had together. From here on it’s denouement.

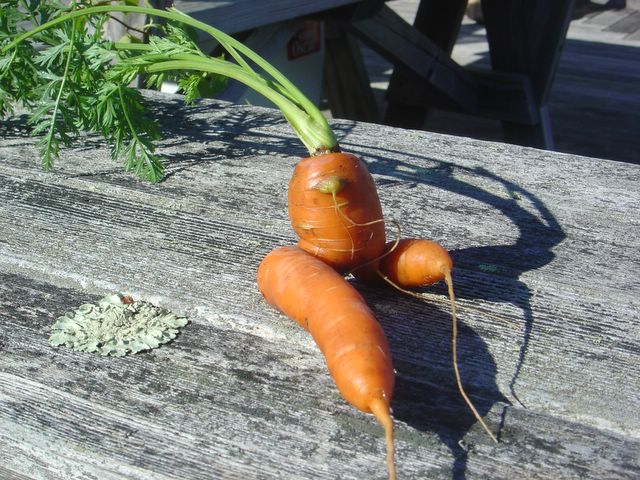
But there are still lovely surprises below ground. I should have taken a photo of the carrot I pulled yesterday. I’m pretty sure there was someone in China pulling on the other end. And then I decided I’d better get my sweet potatoes up and curing before the next frost hits. It was a decent harvest. I put in 24 plants on Memorial Day and I think 18 survived. Each one produced 4-5 good sized sweet potatoes.

Meanwhile the Brussels sprouts which I had dismissed as a not very successful crop, have come to life in the cool weather. Each evening I can pick a pocket full for dinner, and there always 
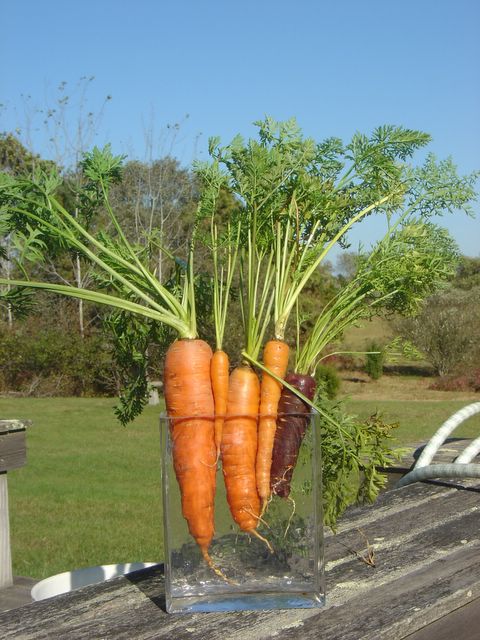
seem to be more the next night. What was I thinking? Moreover, this is this first time I’ve tasted them off the vine as it were and they are so much nuttier tasting than even the glossiest store bought. I will leave them out there as long as I can and see how they do.

Well the gauze has turned to “socked in” out here. Time to go inside.

Monday, October 16, 2006


Garlic on it's way to be planted ! Posted by Picasa

my new garlic planter ! Posted by Picasa

Garlic Planting

Getting the garlic planted is always a grounding experience for me. Just as the summer garden is being dismantled, the promise of garlic is being buried for safe keeping until the spring.

Preparation of the beds

I plant the garlic in 4x8 foot raised beds. To prep them I first weed and then mix in Azomite and Harmony to the top layer. Then I shovel the top layer of the left half of the bed, about 4 inches, over to the right side. Again I apply Azomite and Harmony and add colloidal clay and work that in. Next a sprinkling of grass clippings followed by a 2 inch layer of the lamb manure compost I made this summer. Then I cover that with the soil I removed and repeat this for the right side. I let the beds sit for about 3 weeks like this.


Planting

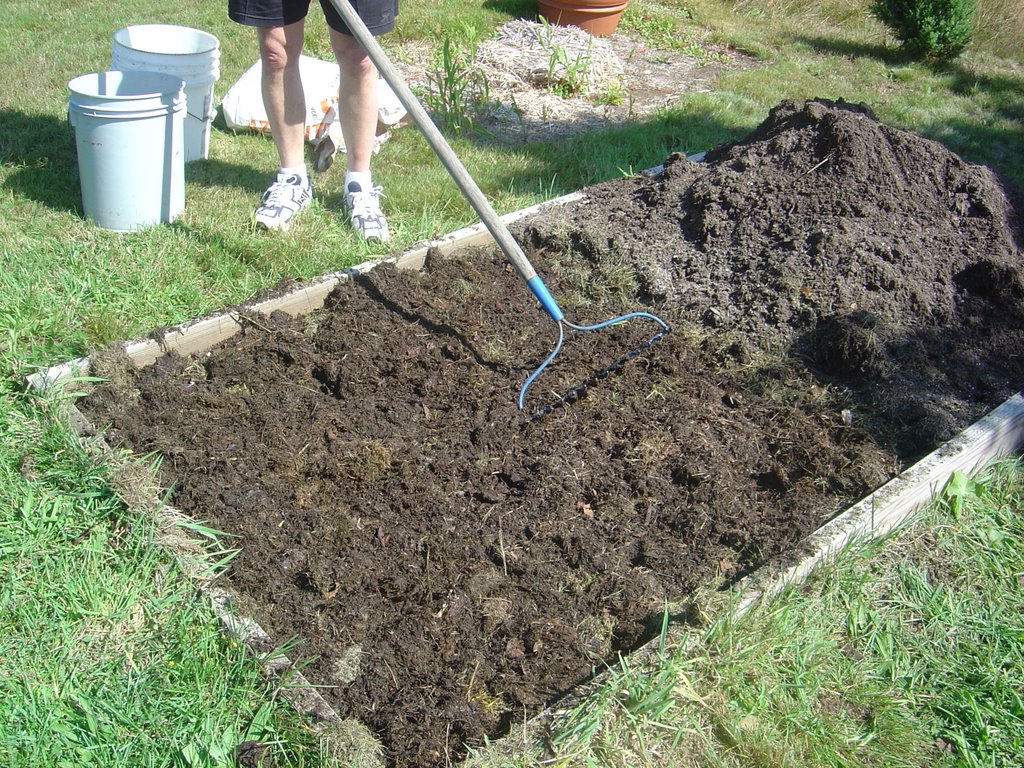
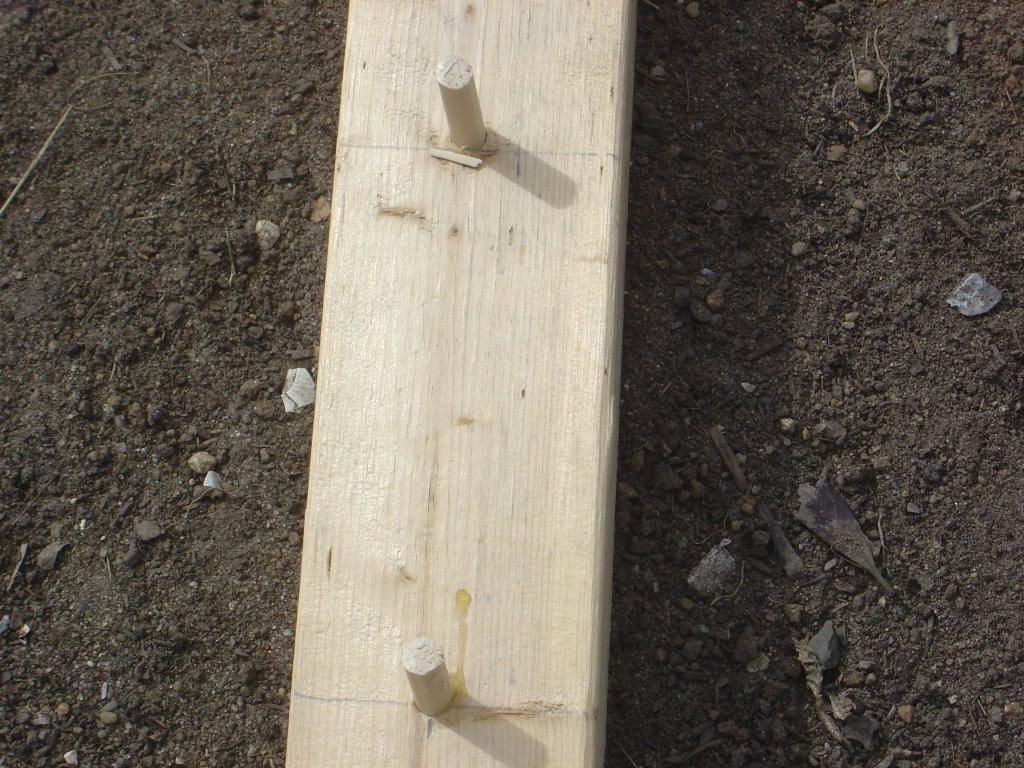
This year I had a new tool to work with. Hunter made this wonderful planting marker that we used to mark the beds in a 5x8 inch spacing. I was able to get 13 rows of 10 cloves to a row or 130 head to a bed. The marker isn’t intended to actually dibble the holes, but it does lay out the grid. I then went through and stuck my thumb in each hole and then squirted water 
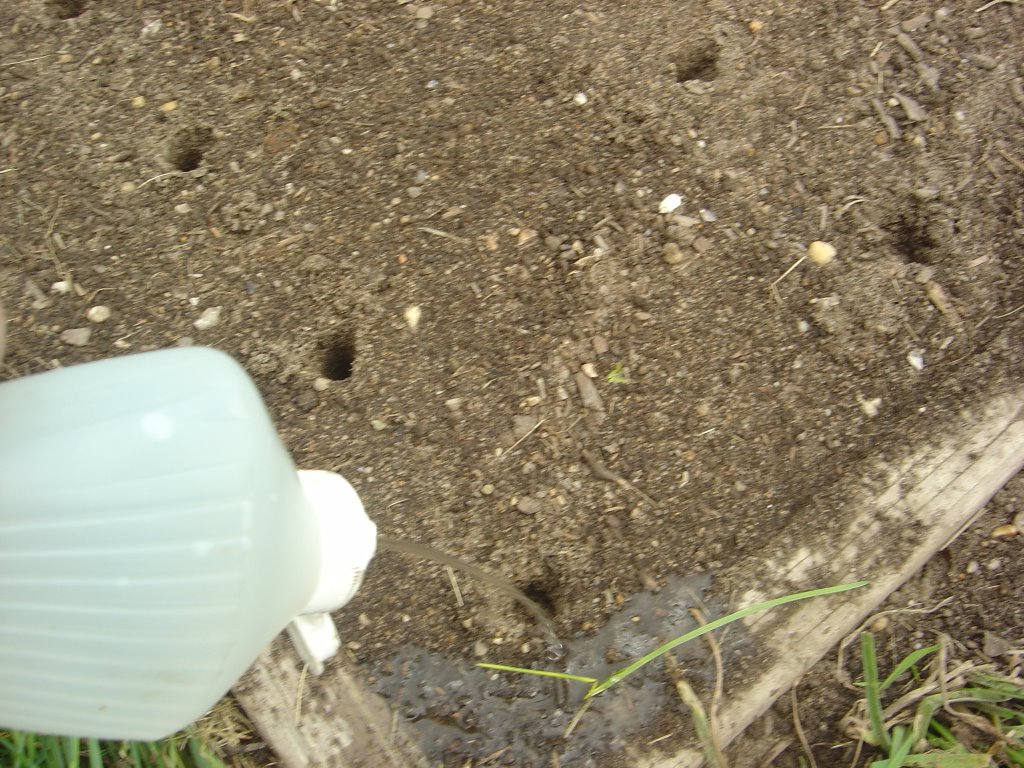
from my handy dishsoap container into each hole (great garden tool). Next I planted the cloves about 4 inches deep. I watered them for about a week and then put a mulch of grass clippings over each bed. In the past I’ve used straw, but after re-reading the planting advice in Growing Great Garlic I decided to use the grass. The idea is that the mulch will break down in May about the time the garlic needs the nitrogen.

The Aftermath

Each year when I finish planting I have way too many loose cloves left over from my planting stock. Once garlic has been broken up, it starts to sprout more readily, so I was always in a race to use up the loose cloves. After reading so many enthusiastic reviews in Garden Voices about green garlic this past spring, I decided to put my loose cloves to work. Any empty space in the garden is now hosting garlic cloves. I will use them as spring onions and harvest them before they ever have a chance to bulb.

Friday, October 13, 2006

Artichoke Update

For those of you just tuning in, of the dozen seeds I started in February, three of them made it into the garden this year. This is my fourth year fiddling with artichokes and the first year I have harvested any chokes. Two of the three plants produced, and once I cut the stalk back to the ground, the whole plant sort of withered and died back.

Then about 2 weeks ago new growth started from what appears to be an expanded crown below ground. No frost has threatened yet, so I am feeding and watering this new growth. The next challenge is the right kind of winter blanket to help these puppies overwinter. Any suggestions?

Friday, October 06, 2006


The carrots have been kicking up their heels below ground! Posted by Picasa

Wednesday, October 04, 2006


the old shady spot Posted by Picasa

new sunny spot Posted by Picasa

Compost Woes

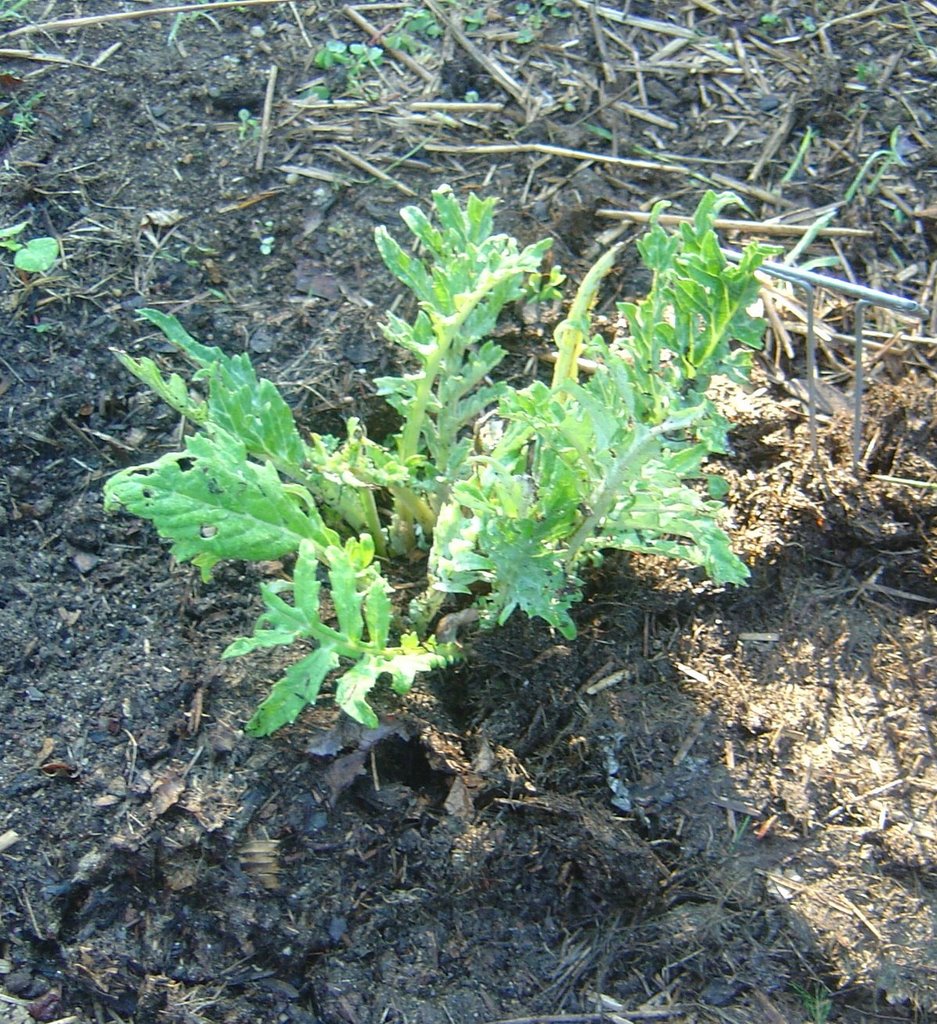
About a week ago I went out to the composter to add the latest bucket full of kitchen scraps. I was horrified when I lifted off the top to find a rat (not a mouse, yes a rat) scurrying and burrowing back down in to the pile. I confess I had gotten a little sloppy and had left one of the two bottom openings off. It is nowhere to be found.

As a temporary solution, I set about making the place less like home for him by boiling all the hot peppers I had in the house and pouring the hot sauce over the scraps. But his presence reminded me that I had been wanting to move the composter to a sunnier location anyway. So today we did just that.

I’m pleased to say there was no sign of my furry friends having taken up residence in the pile. We leveled out a spot in a sunnier part of the yard. We fashioned a temporary cover for the missing slat at the bottom. It took some doing to dislodge the plastic bin from its spot, but we now have fresh, cooking compost, sans rodents, in a much sunnier part of the yard.

This tale reminds me of a rather hilarious set of threads I found at GardenWeb recently in their composting forum. It began “You know you’re a compost junkie when …” Here are some of my favorites.

You know you’re a compost junkie when ….

… when your neighbor's children start giving you their banana peels

… When the temperature of your compost pile is the first thing you think of when you wake up in the morning.

. . . when you kill a couple of ants in the house, then carefully scoop their tiny remains into the compost bucket.

… You talk about your worms like they're pets.

… When your spouse tells friends it is okay to come to his funeral but it is best not to stick around for the internment.

… You watch a cooking show and have more interest in the discard pile than the actual dish being prepared.

… When your husband sends you e-mails like this:

-----Original Message-----
From: tiny husband
Subject: nightmare

I wake up to find myself at the bottom of a compost heap. You're dumping coffee grounds on me, your eyes shining unnaturally, and muttering, "Ooooh, he's steaming."

Sunday, October 01, 2006


Come celebrate the harvest! Posted by Picasa

The Harvest Festival

The Harvest Festival was held last night at the Ag Hall. It was a community pot luck where the only rule was you had to bring a dish made with local ingredients.

My contribution was a Local American Chop Suey made with local ground beef and an all local tomato, pepper, onion and garlic sauce.

Before hand we had free Tomahawk oysters from the local aquaculture enterprise of the Aquinnah Wampanoags. Wine was provided by our local Chicama Vineyards and I enjoyed a Chenin Blanc and a Summer Island Red. There was also a big block of what we used to call “store cheese” here in New England. Every General Store would have a block of cheddar ready for slicing at the checkout counter. Our Morning Glory Farm still does. This particular cheddar one was from Cabot Cheese in Vermont. There was also a generous helping of fresh chevre from Christiantown Farm. I have some in the fridge right now (thanks to Mary Beth), and I find it goes particularly well with the autumn olive jam.

We ate well, visited with friends and danced off most of what we ate to a swing band. A great way to celebrate the harvest!

Recipe for Local American Chop Suey

From the Farm Institute

1lb ground beef

From Whipporwill Farm

1 onion chopped
1 red pepper chopped
1 yellow pepper chopped
3 tomatoes

From my garden

6 cloves garlic
7 tomatoes
Basil
Parsley

Other Ingredients

3 cups elbow macaroni
1 cup Classico Fire Roasted Tomato Garlic Sauce
By the Sea salt à Chilmark

Brown the ground beef. Set aside. Make a sauce from peeled seeded tomatoes, onions, peppers, garlic, herbs and the one cup prepared sauce. Season with Salt by the Sea to taste.

Prepare macaroni and drain well. Combine all the ingredients. Warm in a 350 degree oven for 20 minutes before serving.